
Views: 213 Author: Mega Services Publish Time: 2026-07-18 Origin: Site


Content Menu
● How to Know It's Time to Replace Your AC
>> Practical Signs Your System Is Near the End of Its Life
>> Comfort and Indoor Air Quality Red Flags
● Choosing the Right AC System for Your Home
>> Core System Types Explained
>> Why Proper Sizing Matters More Than Brand Names
>> Modern Efficiency Ratings and Refrigerant Changes
● What Happens During a Professional AC Replacement
>> Pre-Visit Planning and Home Assessment
>> A Typical One-Day Installation Flow
>> Post-Installation Fine-Tuning and Early Maintenance
● Cost, Financing, and Long-Term Savings
>> What Drives the Price of a Replacement
>> Financing, Rebates, and Incentives
● Expert Tips to Maximize Comfort and Protect Your Investment
>> Lessons Learned from Real-World Replacement Projects
>> Summing Up Your AC Replacement Decision
● FAQs – Common Homeowner Questions About AC Replacement
>> Q1: How often should a typical home AC system be replaced?
>> Q2: Can I replace only the outdoor unit and keep my old indoor components?
>> Q3: How long will my home be without cooling during the installation?
>> Q4: What can I do to prepare my home before the crew arrives?
>> Q5: Will a new system really lower my energy bills?
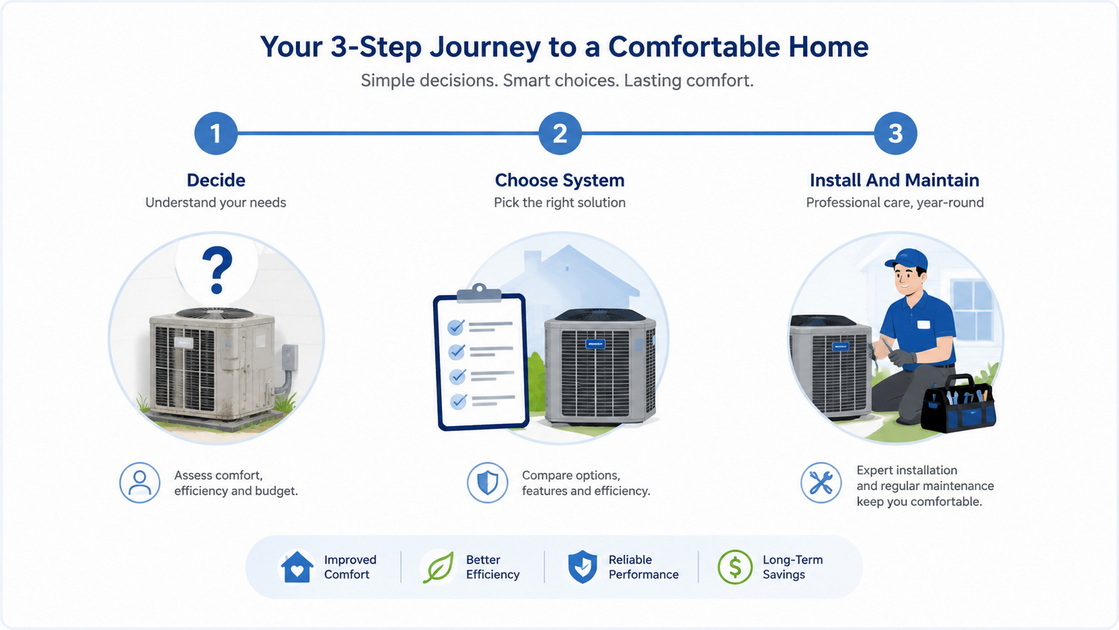
Replacing an aging air conditioner is one of the biggest home decisions most families make after a roof or major remodel. Over the past decade, many homeowners have described the same story: sleepless nights, noisy equipment, rising utility bills, and frequent repair visits that no longer feel worth the cost.
Those conversations point to a simple truth: the best AC replacement is not the cheapest option today, but the one that still feels like a smart decision ten summers from now. In this guide, we combine observations from residential projects with current efficiency and equipment best practices, so you can evaluate your options with confidence and peace of mind.
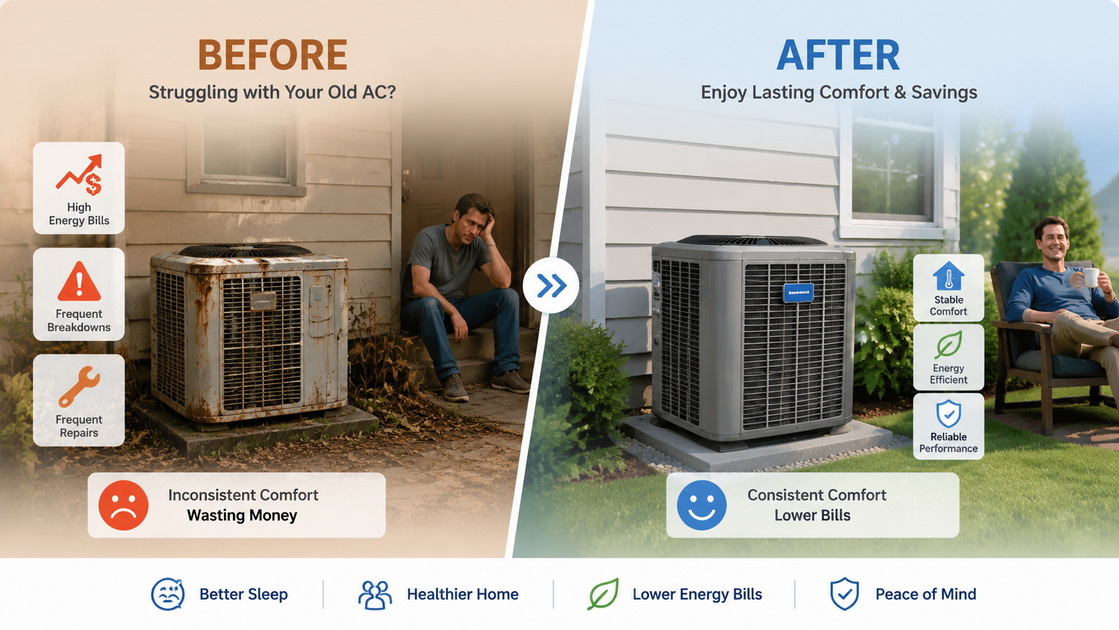
Most modern central air systems last about 10–15 years when they receive regular maintenance and are installed correctly. After that point, wear and tear on the compressor, blower motor, and control components often leads to more frequent issues, noisier operation, and rising energy use.
Common warning signs that it may be time to consider replacement include:
- Age over 10–15 years with no major upgrades or retrofits
- Noticeably higher summer power bills compared with previous years
- Rooms that are too hot or too cold, even with a steady thermostat setting
- Loud grinding, rattling, or buzzing noises during startup or operation
- Repeated repairs for capacitors, contactors, refrigerant leaks, or fan motors
A key tipping point for many families is when annual repair costs begin to approach 20–30% of the price of a new system, or when a major component such as the compressor fails outside of warranty. At that stage, continuing to repair the old unit often makes less financial sense than investing in a new, more efficient installation.
Beyond age and repair history, comfort and indoor air quality are strong indicators of system health. Homeowners commonly report issues such as:
- Humidity that feels "sticky" indoors, even when the thermostat shows a normal temperature
- Persistent dust buildup around supply vents and return grilles
- Slight musty odors when the system cycles on
- Family members complaining of hot upstairs bedrooms while the downstairs feels cool
These symptoms often point to poor airflow, undersized or leaky ductwork, or an aging system that struggles to control humidity and filtration. In many cases, addressing these deeper issues requires more than a quick fix; it calls for a well-planned replacement that considers the whole system, not just the outdoor unit.
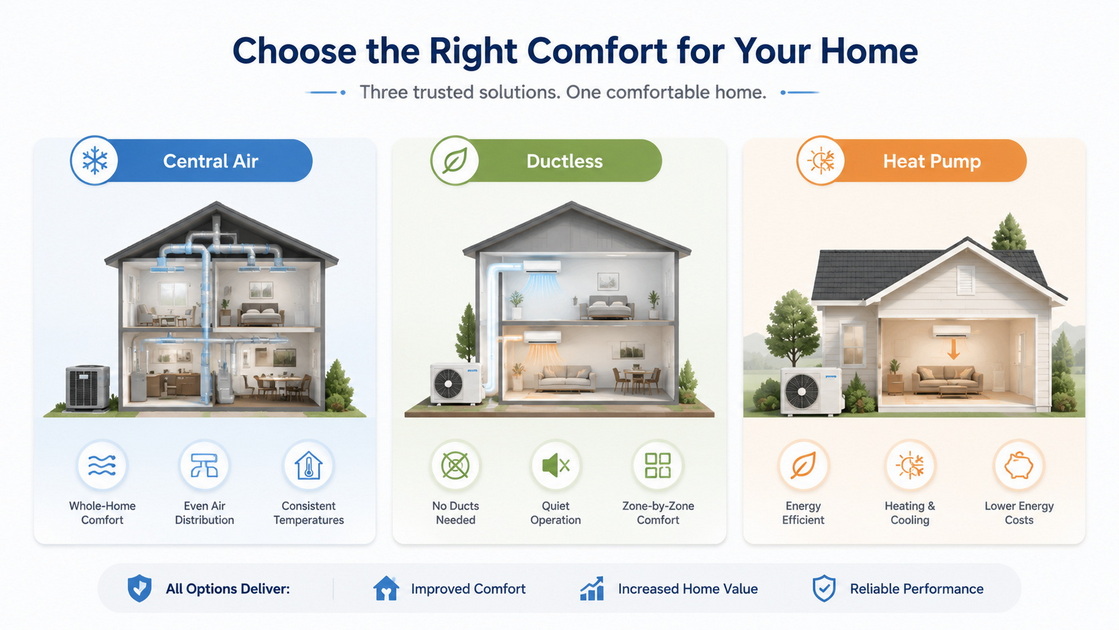
Different homes and families require different cooling strategies. Below is a straightforward overview of common options discussed during in‑home consultations.
| System type | Typical use case | Key advantages | Important trade-offs |
|---|---|---|---|
| Central air + furnace | Whole-house comfort with existing ducts | Even temperatures, familiar controls, pairs with gas or electric heat | Requires ducts in good condition; higher installation complexity |
| Ductless mini-split | Homes without ducts, additions, bonus rooms | High efficiency, zoning by room, minimal duct losses | Higher upfront cost per room; indoor wall units remain visible |
| Heat pump (air-source) | Mild to moderate climates needing cooling and heating | Efficient heating and cooling, supports all‑electric homes | In very cold climates may need backup heat or hybrid solutions |
| Window / portable units | Small apartments or temporary cooling | Low upfront cost, simple installation | Limited capacity, often noisy, less efficient for full-home use |
In practice, most single‑family homes with existing ductwork choose either a central air system or a heat pump, while ductless systems shine in remodels, studio spaces, and rooms that are consistently uncomfortable. The "right" system is the one that fits your home's layout, your climate, and your comfort expectations over the long term.
One of the most common mistakes on replacement projects is oversized equipment installed "just to be safe." When a system is too large for the home, it cools the air quickly but shuts off before properly removing humidity. This leads to short cycling, uneven comfort, increased wear, and sometimes noisy operation.
A responsible contractor performs a Manual J load calculation or an equivalent sizing analysis. This process looks at square footage, insulation levels, window type and orientation, air leakage, and local climate conditions. The goal is not to install the biggest unit the budget allows, but to select the right capacity that runs steady, efficient cycles while maintaining both temperature and humidity. Proper sizing also supports optimal filtration and helps the system last longer.
Today's systems are tested under updated efficiency standards that better reflect real-world performance, especially through ductwork. For cooling, the key rating is SEER2, and for heat pumps, HSPF2. Many homeowners find good value in systems at or above SEER2 14, and see more noticeable bill reductions when they upgrade into the 16–18 SEER2 range, particularly in regions with long cooling seasons.
Refrigerants are also changing. Older R‑410A is gradually being replaced by lower global warming potential refrigerants such as R‑32 and R‑454B. These new refrigerants require proper training, careful handling, and adherence to manufacturer guidelines. The practical takeaway for homeowners is simple: work with licensed technicians who are familiar with modern refrigerants and follow current best practices during installation and servicing.
This section reflects what typically occurs during residential change‑outs, where a complete system swap can often be finished in a single working day once planning and material delivery are complete.
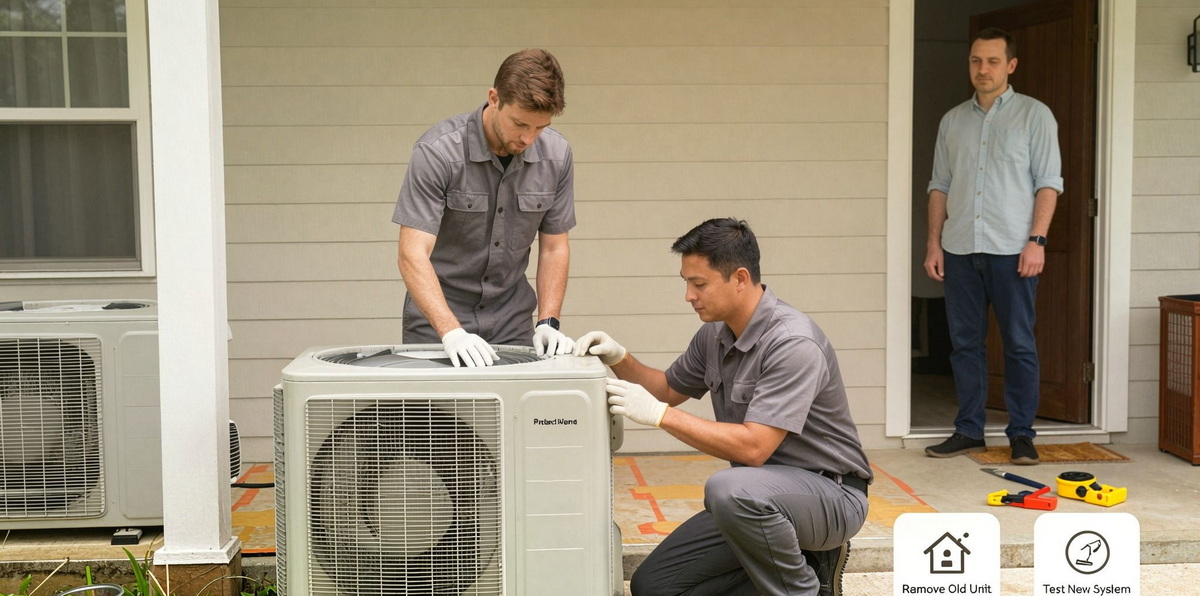
Before any equipment is ordered, an experienced technician should:
- Inspect the existing indoor and outdoor units, electrical panel, and refrigerant line routing
- Evaluate duct condition, airflow, filter location, and return air sizing
- Ask about rooms that struggle with comfort, noise issues, or hot and cold spots
- Confirm any plans for future additions or renovations that could change the cooling load
On many projects, significant efficiency gains come from addressing duct leaks, restricted filters, and poorly sized returns during replacement, not just swapping the outdoor unit. This planning phase also includes checking breaker capacity and discussing whether smart controls, zoning dampers, or upgraded filtration make sense based on the home's layout and family needs.
Details vary by home, but most residential AC replacement projects follow a structured process:
1. Arrival and protection of work areas – Technicians cover floors, protect walls, and set up safe access paths to indoor and outdoor equipment.
2. Power shutoff and refrigerant recovery – Existing equipment is powered down and refrigerant is safely recovered according to current standards.
3. Removal of old equipment – The outdoor condenser, indoor coil, and sometimes the furnace or air handler are disconnected and removed.
4. New equipment placement and connection – New indoor and outdoor units are positioned, leveled, and connected to ducts, refrigerant lines, drains, and electrical components.
5. System charging and start‑up testing – The system is evacuated, charged according to specifications, and run through multiple cooling cycles while pressures, temperatures, and airflow are checked.
6. Final commissioning and homeowner walk‑through – Thermostat settings are configured, fan speeds are confirmed, and the homeowner is shown how to operate the system and change filters.
A well-organized crew also removes all old equipment and packaging, cleans up work areas, and leaves documentation and warranty information where the homeowner can easily access them. This attention to detail is a key part of a smooth replacement experience.
Once the new system has run for several days, homeowners often notice small adjustments they want to make, such as thermostat schedules or preferred temperature settings in different seasons. Good early practices after replacement include:
- Checking and replacing filters on the schedule recommended by the installer
- Keeping the outdoor unit clear of plants, debris, and obstruction
- Monitoring comfort and energy bills during the first cooling season to verify expected improvements
- Scheduling regular tune‑ups to maintain efficiency and catch minor issues before they become major problems
Homes that commit to simple preventive care usually enjoy more stable performance, quieter operation, better humidity control, and fewer unexpected service visits over the life of the system.
The final investment for a new air conditioning system depends on several variables that go beyond the equipment itself. Major factors include:
- Equipment type and efficiency level – Higher efficiency or variable‑speed units cost more upfront but often reduce long-term energy expenses.
- System size and design complexity – Larger capacities, multi‑zone setups, and duct modifications require more labor and materials.
- Electrical and structural updates – Panel upgrades, new pads, and rerouted refrigerant lines add to project scope.
- Local labor rates and permitting requirements – Regional differences and code compliance can create a wide price range.
The most satisfied homeowners tend to be those who choose systems aligned with their comfort expectations, utility cost goals, and long‑term plans for the home, rather than focusing on the lowest immediate quote. They treat the project as a long‑term comfort and efficiency investment, not just an emergency expense.
To make replacement more manageable, many manufacturers, local dealers, and financial institutions offer structured financing, including promotional interest options for qualified customers. In addition, various national and regional programs provide rebates or tax benefits for equipment that meets specific efficiency thresholds, particularly for heat pumps and higher SEER2 systems.
When planning a project, it is helpful to ask your contractor to:
- Identify available rebates or incentives based on equipment type and efficiency
- Provide documentation, model numbers, and installation details required for applications
- Clarify whether incentives apply to equipment only or to the complete installation package
Combining reasonable efficiency upgrades with applicable incentives often delivers a balanced strategy: improved comfort, reduced energy use, and a monthly cost that fits the household budget.
After observing and reviewing many completed replacements, several patterns consistently distinguish high-value projects from frustrating ones. Key lessons include:
- Document current comfort problems before the quote visit – Make a simple list of hot or cold rooms, noise concerns, and allergy or air quality issues.
- Ask for a clear sizing explanation – Request a written load calculation or at least a detailed rationale for the chosen capacity.
- Discuss filtration and indoor air quality options – Upgraded filter cabinets, air cleaners, or better return placement can make a noticeable difference for sensitive households.
- Plan for future controls and upgrades – Choosing compatible thermostats and control boards today makes it easier to add smart features later.
Homeowners who take time to ask these questions usually end up with systems that match their lifestyle more closely, whether that means quieter operation for remote work, better humidity control for wood floors and furniture, or improved filtration for family health priorities.
An AC replacement is more than a simple equipment swap. It touches comfort, health, safety, energy spending, and the value of your home for years to come. By understanding when replacement makes sense, how modern systems differ, and what a professional installation should look like, you can move forward with a plan that feels thoughtful rather than rushed.
The most successful projects follow a consistent pattern: careful assessment, honest discussion about needs and budget, correct sizing and system selection, and meticulous installation and commissioning. When those pieces come together, your home becomes a place where summer heat is handled quietly in the background and your cooling system simply does its job, season after season.
Most systems are evaluated for replacement around 10–15 years of age, or earlier if major components fail outside of warranty and repair costs become high compared with the price of new equipment. Regular maintenance can extend life, but age and reliability remain key factors.
Sometimes it is technically possible to replace only the outdoor unit. However, mixing old and new components can lead to mismatched efficiency, comfort problems, and potential limitations on warranties. Many professional guidelines recommend replacing matched components together for the best long-term performance.
For a straightforward residential change‑out with no major duct or electrical work, many homes experience about one working day of disrupted cooling. Cooling is typically restored after testing and commissioning, often by late afternoon or early evening on the installation day.
You can help the process by clearing access paths to the furnace or air handler, making space around the outdoor unit location, securing pets, and moving fragile items away from work areas. These simple steps make the day safer and smoother for everyone involved.
When an old, inefficient system is replaced with properly sized modern equipment and the ducts are checked for leaks or restrictions, many households see noticeable reductions in seasonal power costs. The exact savings depend on factors such as thermostat settings, insulation quality, and usage habits, but a well-chosen system often provides both comfort and efficiency benefits.
1. Logan Services. "AC Replacement: Key Factors to Consider and Expert Tips."
[https://www.logan-inc.com/blog/ac-replacements/]
2. ElectrifyCost. "AC Replacement Guide 2026: SEER2, R-32, Alternatives."
[https://electrifycost.com/guides/ac-replacement/]
3. EngineeringCivil.org. "HVAC System Replacement Guide for Homeowners and Contractors."
4. HVAC365. "Replace Your Home HVAC: A Complete How-To for 2026."
[https://hvac365.com/blog/replace-your-home-hvac-a-complete-how-to-for-2026/]
5. U.S. Department of Energy – Building America. "Energy Renovations – HVAC: A Guide for Contractors to Share with Homeowners."
[https://www.energy.gov/sites/prod/files/2013/11/f5/hvac_guide.pdf]
6. OSTI.GOV. "Best Practices Guide for Residential HVAC Retrofits."
[https://www.osti.gov/servlets/purl/824856]
7. Enercare. "The 2026 Buyer's Guide to Home Air Conditioners."
[https://www.enercare.ca/ontario/cooling/buyers-guide-air-conditioners]
8. Trane Residential. "HVAC Replacement: A Homeowner's Guide."
[https://www.trane.com/residential/en/resources/blog/hvac-replacement-guide/]
9. HVAC Change-Out Checklist Template.
10. Morelli Air. "10 Tips for Updating Your Home HVAC System."
11. Mountain Association. "HVAC: Planning Ahead for Replacement."
[https://mtassociation.org/energy/hvac-planning-ahead-for-replacement/]
12. Modernize. "What to Expect During an HVAC Replacement."
[https://modernize.com/homeowner-resources/hvac/what-to-expect-during-an-hvac-replacement]
13. Anderson HVAC. "How Long Does AC Replacement Take? 2026 Guide."
[https://anderson-hvac.com/how-long-does-ac-replacement-take/]
14. Budget Heating. "When Should You Replace Your Old AC System in 2026?"
[https://www.budgetheating.com/when-should-you-replace-your-old-ac-system-in6-guid/]


