
Views: 211 Author: Mega Services Publish Time: 2026-10-19 Origin: Site


Content Menu
● Before Installing a Ductless Mini Split: Understand Your System
● Can You Install a Mini Split Yourself?
● Step 1: Size the Mini Split for Actual Heating and Cooling Loads
>> Check Heating Performance at Local Winter Temperatures
● Step 2: Confirm Permits, Electrical Requirements, and Warranty Terms
● Step 3: Choose Indoor and Outdoor Locations Carefully
>> Indoor Mini Split Placement
>> Outdoor Mini Split Placement
● Step 4: Install Secure Supports and Plan the Wall Opening
● Step 5: Route Refrigerant Lines and Condensate Drainage
>> Make Drainage a Design Priority
● Step 6: Complete Electrical and Refrigerant Work
● Step 7: Commission the System Before Calling the Job Finished
● Three Installation Details That Deserve Extra Attention
>> 1. Multi-Zone Systems Share Available Capacity
>> 2. Ductless Does Not Necessarily Mean Fresh Air
>> 3. Handover Records Protect Your Investment
● What Affects Ductless Mini Split Installation Cost?
● Plan Your Installation With Mega Services Heating & Cooling
>> 1. How Long Does Ductless Mini Split Installation Take?
>> 2. Can One Mini Split Cool Several Rooms?
>> 3. Do All Mini Splits Need a Dedicated Electrical Circuit?
>> 4. Does Every Mini Split Require Vacuum Evacuation?
>> 5. Will Installing a Mini Split Myself Void the Warranty?
>> 6. ow Should I Maintain a Newly Installed Mini Split?
Learning how to install a ductless mini split starts before anyone drills into a wall. Correct sizing, electrical planning, drainage, and installation testing determine whether your new system delivers comfortable temperatures—or recurring problems.
At Mega Services Heating & Cooling, our focus is helping families create safe, comfortable, energy-efficient homes. For homeowners considering ductless heating and cooling, that means looking beyond equipment specifications to understand how the complete installation should work.
This guide explains the process, what homeowners can prepare, which tasks require qualified professionals, and what to check before accepting the finished job.
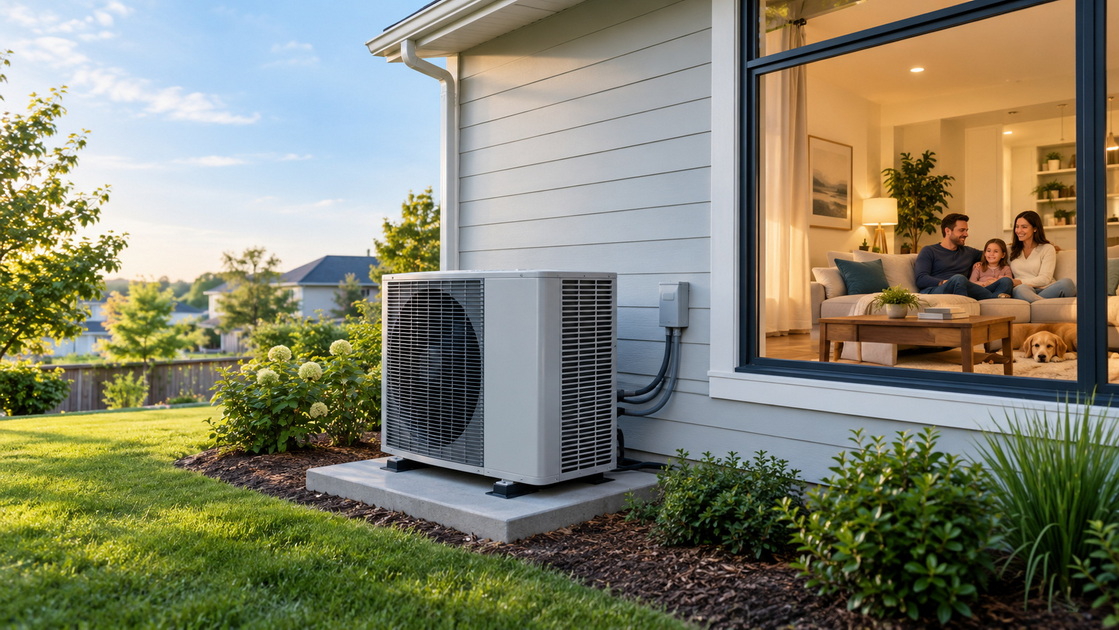
A ductless mini split connects an outdoor unit to one or more indoor units through refrigerant piping, wiring, and a condensate drain. Heat pump models provide both heating and cooling.
A single-zone system serves one area. A multi-zone system connects several indoor units to a compatible outdoor unit, allowing separate temperature settings in different spaces.
However, separate temperature settings do not automatically mean simultaneous heating and cooling. Many residential multi-zone systems require connected indoor units to operate in the same heating or cooling mode.
Ductless equipment can suit additions, converted garages, and homes without existing ductwork. However, one indoor unit should not be expected to condition several closed bedrooms evenly.

The answer depends on the equipment, the work involved, and applicable regulations.
Conventional mini splits generally require field-connected refrigerant piping, leak testing, evacuation, and startup procedures performed by qualified technicians. Electrical work and permits create additional requirements.
Some products use factory-sealed, precharged quick-connect assemblies designed to simplify installation. Their procedures differ from conventional systems. Nevertheless, a DIY label does not override electrical codes, permitting rules, or refrigerant regulations.
Federal requirements apply to activities that could release regulated refrigerant, including specified connections and service operations. Confirm the requirements for the exact equipment and task before proceeding.
Safety comes first: homeowners should not improvise electrical connections, refrigerant procedures, structural supports, or work at height.
| Installation task | Recommended responsibility |
|---|---|
| Clear access and discuss preferred locations | Homeowner |
| Calculate heating and cooling loads | Qualified HVAC professional |
| Confirm permits and inspection requirements | Installer and local authority |
| Install or modify electrical circuits | Appropriately qualified electrical professional |
| Connect and commission conventional refrigerant piping | Qualified, appropriately certified technician |
| Learn controls and routine filter care | Homeowner with installer guidance |
Choosing capacity from floor area alone is a common planning mistake.
Two rooms with identical square footage can require different capacities because of windows, insulation, air leakage, ceiling height, and sun exposure.
Ask for a room-by-room load calculation using an accepted method such as Manual J. For multi-zone installations, both individual room loads and the outdoor unit's capabilities matter.
Oversizing can contribute to short cycling and poor humidity control, particularly when a system cannot reduce its output sufficiently. Undersizing can leave rooms uncomfortable during demanding weather.
For year-round use, compare heating capacity at your local winter design temperature—not just the nominal capacity advertised for the system.
Ask whether supplemental heat is necessary and how defrost operation affects comfort. Model-specific performance data provides a better answer than a general claim that all mini splits perform equally in cold weather.
Before installation begins, request a written explanation of:
- Required mechanical and electrical permits.
- Who obtains permits and arranges inspections.
- Equipment model numbers and approved combinations.
- Electrical modifications included in the price.
- Manufacturer registration requirements.
- Separate equipment and workmanship coverage.
There is no universal 20-amp electrical requirement for every mini split. Circuit design must follow the equipment nameplate, installation instructions, and applicable codes.
Likewise, warranty conditions vary by manufacturer and product family. Some purpose-designed DIY products have coverage that does not universally require professional installation, provided their instructions and legal requirements are satisfied.
Read the actual warranty rather than relying on a blanket statement about an entire brand.
Good placement balances airflow, service access, drainage, appearance, and noise.

Choose a location that allows air to circulate through the occupied space without furniture or curtains blocking the unit.
Follow the manufacturer's clearances around the ceiling and adjacent walls. Avoid placing the unit where its temperature sensor receives misleading readings from direct sunlight or nearby heat sources.
An exterior wall often simplifies routing, but interior-wall installations may be possible with additional planning.
The outdoor unit needs a stable mounting surface and unobstructed airflow. Follow model-specific service and operating clearances.
Also consider:
- Roof runoff and falling debris.
- Snow accumulation and winter drainage.
- Nearby bedroom windows.
- Vibration transmission through wall brackets.
- Access for future cleaning and repairs.
Shade alone does not determine the best location. A shaded corner with restricted airflow can be worse than an open location that meets installation requirements.
The indoor mounting plate must attach to a structure or approved anchoring system capable of supporting the equipment.
Do not assume ordinary drywall anchors are suitable. Unit weight, wall construction, and the manufacturer's fastening requirements determine the correct approach.
Before drilling, the installer should check for concealed wiring, plumbing, and structural obstacles.
The wall opening must accommodate the specified piping, wiring, insulation, and drain arrangement. Where gravity drainage passes through it, its direction should support the required drainage slope.
Sleeving and weatherproof sealing help protect the opening against moisture, pests, and air leakage. Exterior wall materials may require additional flashing or specialized treatment.
Refrigerant tubing must stay within the manufacturer's limits for diameter, length, elevation difference, and bending.
Excessive bending, damaged insulation, and unsupported tubing can create problems. Conventional flare connections require the specified preparation and torque—not a guess based on how tight they feel.
Tape or a decorative cover is not a refrigerant seal.
During cooling, moisture collected at the indoor coil must drain safely away.
Gravity drains need the specified continuous slope without sags or uphill sections. Where gravity drainage is impractical, a properly selected condensate pump may be necessary.
Ask where the water will discharge and how that location avoids property damage or nuisance. If a pump is proposed, discuss cleaning access, noise, and overflow protection.
A drain that looks acceptable should still receive a functional water test.
Qualified personnel should complete the supply circuit, disconnect, grounding, and interconnecting wiring according to the exact system instructions.
Communication wiring also matters. Incorrect conductor selection or terminal connections can prevent operation or damage equipment.
For conventional field-piped systems, refrigerant preparation generally includes:
1. Inspecting and completing the piping connections.
2. Pressure-testing according to the manufacturer's procedure, typically using dry nitrogen.
3. Checking connections for leaks.
4. Evacuating air and moisture using appropriate equipment.
5. Verifying the required vacuum and standing-test results.
6. Releasing or adjusting the refrigerant charge as instructed.
Pressure limits, vacuum targets, test durations, and additional-charge requirements are model-specific.
Factory-sealed quick-connect systems follow different procedures. Never substitute a generic installation video for the manual supplied with the equipment.
Feeling cool air is not a complete acceptance test.
Commissioning verifies that the installation operates correctly and provides a useful baseline for future service.
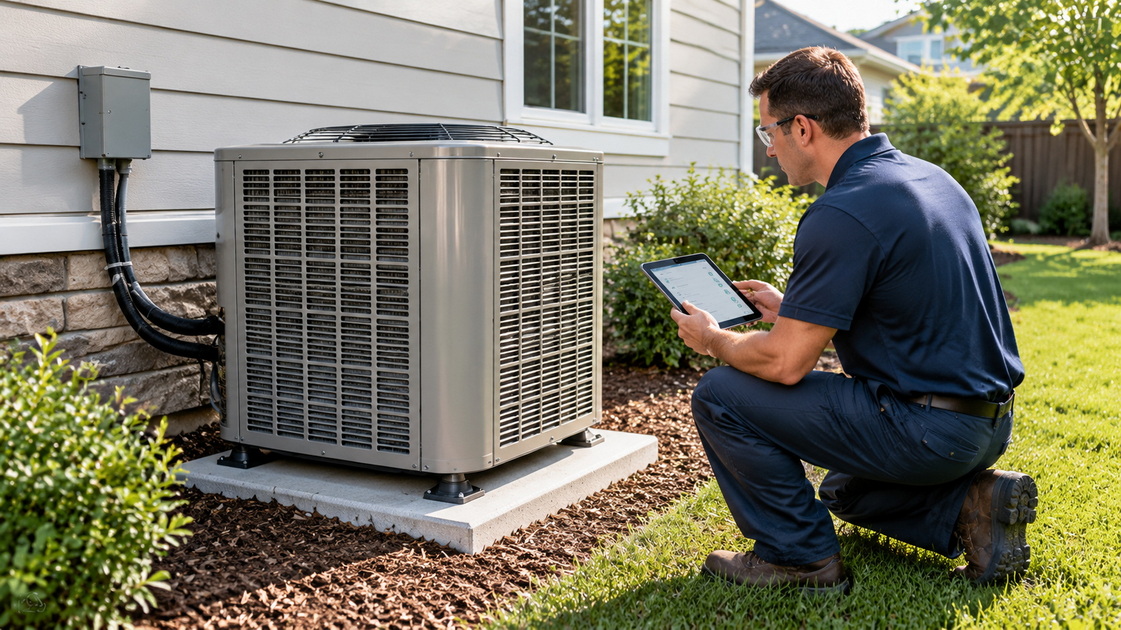
Ask the installer to document applicable checks:
| Check | Why it matters |
|---|---|
| Installed model numbers | Confirms the proposed equipment was supplied |
| Refrigerant connection and test results | Helps establish installation quality |
| Drainage test | Identifies leaks, blockages, or poor routing |
| Heating and cooling operation | Checks available operating modes |
| Controls and zone response | Confirms basic functions and communication |
| Noise and vibration | Reveals mounting or routing concerns |
| Electrical checks | Confirms compliance with specified requirements |
Testing should follow manufacturer procedures and account for outdoor conditions. Some operating checks cannot be evaluated meaningfully in every season.
Before the installer leaves, request a demonstration of the controls, filter removal, maintenance requirements, and emergency shutdown procedure.
Several indoor units connected to one outdoor unit do not each receive unlimited capacity.
Available output depends on outdoor conditions, the approved equipment combination, piping configuration, and simultaneous demand.
Ask how the system will perform when several rooms need conditioning together. Also discuss minimum output: a large outdoor unit serving only one small room can present different challenges from whole-house operation.
Many standard mini splits recirculate room air rather than supply outdoor ventilation.
They can control temperature and remove moisture during cooling, but they do not automatically solve ventilation deficiencies.
If stuffiness, persistent odors, or moisture problems are concerns, discuss ventilation and building conditions separately rather than assuming a new indoor unit will resolve everything.
Keep the proposal, permits, inspection records, model and serial numbers, warranty documents, and commissioning information together.
These records help future technicians understand the installation and help homeowners distinguish equipment coverage from labor coverage.
A clear handover also reduces uncertainty about who to contact if a drain leaks, a controller displays an error, or heating performance changes.
A useful quotation explains the complete scope rather than presenting only an equipment price.
Important cost factors include:
- Number and type of indoor units.
- Equipment capacity and heating performance.
- Refrigerant line length and routing difficulty.
- Electrical panel capacity and circuit work.
- Wall construction and working height.
- Condensate pumps, brackets, and protective covers.
- Permits, commissioning, and workmanship coverage.
Compare proposals using equivalent scopes. A lower initial price may exclude electrical work, drainage provisions, permits, or finishing details.
Ask for these exclusions in writing before approving the project.
A successful ductless installation combines appropriate equipment with careful design, safe workmanship, and documented testing.
Mega Services Heating & Cooling provides residential heating and air conditioning installation, repair, and maintenance, with a focus on safe, comfortable, energy-efficient living environments.
Contact Mega Services Heating & Cooling to discuss your ductless heating and cooling project. Share the rooms involved, existing comfort problems, and your heating needs so the conversation starts with your home—not simply a unit size.
Timing depends on the number of zones, electrical readiness, routing difficulty, access, and inspections. Request a project-specific schedule that includes commissioning and cleanup, not just equipment mounting.
It may serve an open connected area, but closed doors and room layouts restrict air distribution. Separate rooms may need additional indoor units or a different distribution approach.
Many systems require a dedicated circuit. The exact voltage, conductor size, and overcurrent protection must follow the equipment instructions and applicable electrical requirements.
Conventional field-connected systems generally require evacuation. Certain factory-sealed quick-connect products use different procedures. Follow the exact product manual and confirm applicable legal requirements.
Not necessarily. Coverage depends on the product's written terms, installation requirements, and legal compliance. Confirm registration deadlines, documentation requirements, and whether labor coverage is included.
Follow the owner's manual for filter inspection and cleaning. Keep airflow paths clear and arrange professional maintenance as recommended. Report water leaks, unusual noise, persistent icing, or declining performance promptly.
1.Original article reviewed for topic coverage, installation sequence, and opportunities to improve technical precision. Its generalized electrical, warranty, and installation statements were not adopted as universal requirements.
2.Supports load-based sizing, Manual J calculations, indoor and outdoor placement considerations, unobstructed airflow, and winter drainage planning.
3.Explains certification requirements for refrigerant-related mini split installation activities, including specified hose and precharged-line connections.
4.Provides the regulatory basis for certification when work could release regulated refrigerants.
5./im-im_234mxm_2mxt_2mxth.pdf)
Illustrates manufacturer-specific pressure-testing and evacuation requirements. Its numerical specifications apply to the covered equipment, not every mini split./im-im_234mxm_2mxt_2mxth.pdf)
6.Supports separate electrical supply planning, qualified electrical installation, and protection against contamination of the refrigerant circuit.
7.Provides an example of factory-precharged quick-connect equipment whose installation procedures differ from conventional field-piped systems. Product design does not independently establish permission to perform regulated work.
8.Supports the distinction between product-specific warranty terms and blanket claims that all equipment requires professional installation for coverage.
9.Supports room-level sizing, whole-system capacity planning, and consideration of construction, climate, windows, occupancy, and ceiling height.
10. Brand information supplied in the project brief.
Mega Services Heating & Cooling's service categories and residential comfort mission come from the supplied description. No customer testimonials, installation histories, certifications, or performance guarantees have been invented.


